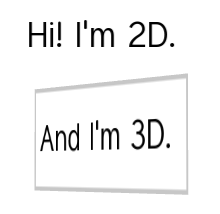
Use the Text Block nodes to show a small amount of text in your application. Text block node uses the font you select to render the text. Use Text Block 3D to show text in 3D space and Text Block 2D to show text in 2D space.
The default font in Kanzi is Fira Sans Regular. It is stored in <KanziInstallation>/Studio/Asset Library/Fonts. When you want to use your own font, import it to your Kanzi Studio project. See Importing fonts.
Note that in order to properly render text content you have to use a font that includes the glyphs of the languages you want to include in your Kanzi application.
By default the Text Block 2D nodes use a Style which sets the Snap to Pixel property. The Snap to Pixel property rounds the translation and scale of the Text Block 2D node to a full pixel, which makes it easier to position the node pixel perfectly in the Preview window.
To disable the Snap to Pixel property, select the Text Block 2D node for which you want to disable that property and in the Properties add and disable the Snap to Pixel property.
When you want the background of the text block nodes to be transparent, you need to render the nodes in the scene graph of your Kanzi application in the correct order. See Rendering transparent nodes.
To add text to your application:
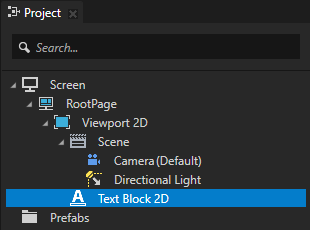
In the Preview use the Text Block 2D tool  to click and drag to create a Text Block 2D node. To position the Text Block 2D node in a layout, click and drag that Text Block 2D node, press and hold Ctrl, and drop the node on top of the cell where you want to place it.
To dynamically change the size of text in a Text Block node, use the Scale property field of either Render Transformation or Layout Transformation properties, instead of the Font Size property. For example, use this approach when you want to animate the size of text in a Text Block node.
When you use the Font Size property to dynamically scale the text, Kanzi creates multiple textures for different font sizes and does not release them from the memory.
To set the color of text in a Text Block 2D node:
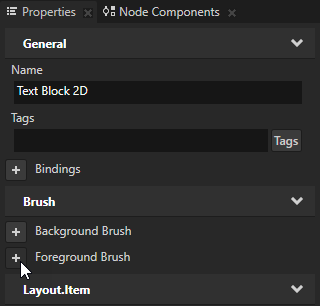
 next to the property, and set the color of the Color Brush you created.
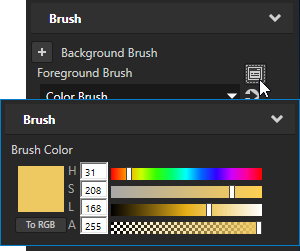

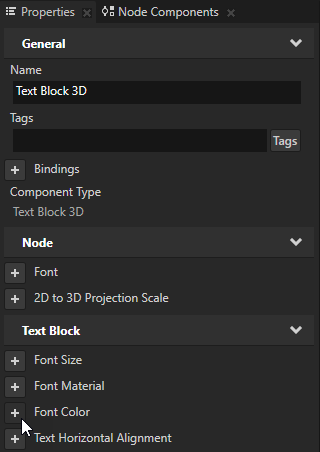
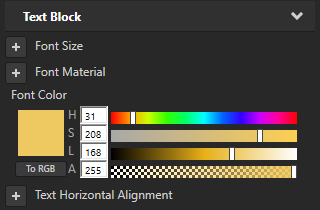
To set the color of text in a Text Block 3D node:
To set the appearance of 2D nodes:
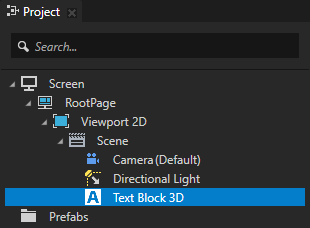
To create a Text Block 3D node:
// Create a Text Block 3D node named Text block.
TextBlock3DSharedPtr textBlock = TextBlock3D::create(domain, "Text block");
To set the font of a text block:
// Set the font used by the text block node using the resource ID.
textBlock->setFont(font);
To add the text shown by a text block:
// Set the content of the text block node to read Hello world!.
textBlock->setText("Hello\nworld!");
To adjust the appearance of the text:
// Set the style of the text shown by the text block node.
// Set the size of the font to 90.0f.
textBlock->setFontSize(90.0f);
// Set the color of the font to blue.
textBlock->setFontColor(ThemeBlue);
// Align the text in the text block to the right.
textBlock->setTextHorizontalAlignment(TextBlockConcept::TextHorizontalAlignmentRight);
For details, see the TextBlock3D class in the API reference.
To create a Text Block 2D node:
// Create a Text Block 2D node named Text node.
TextBlock2DSharedPtr textNode = TextBlock2D::create(domain, "Text node");
To set the font of a text block:
textNode->setFont(font);
To add the text shown by a text block:
// Set the content of the text block to read Hello world!.
textNode->setText("Hello\nworld!");
To adjust the appearance of the text:
// Set the style of the text shown by the text block.
// Set the line spacing to 1.5f.
textNode->setLineSpacing(1.5f);
// Set the size of the font to 36.0f.
textNode->setFontSize(36.0f);
// Set the color of the font to blue.
textNode->setFontColor(ThemeBlue);
// Align the text in the text block to the right.
textNode->setTextHorizontalAlignment(TextBlockConcept::TextHorizontalAlignmentRight);
For details, see the TextBlock2D class in the API reference.
